

OK, bloggers. I get a wee bit out of my comfort zone when I'm not making a card or scrapbook page, but here's my go at making a custom travel mug. Also, please excuse the blurriness of some of the photos, I have a three year old iPhone 3gs that desperately needs to be upgraded. lol My DSLR camera would have been too bulky in my tiny little craft nook. Also, photographing shiny cylindrical things is hard! ;)
I first ordered this travel mug from Amazon.com. It came with a black background for the customizable bit, but because I was using washi tape, I needed a white background. Also, they don't give you too much room for bulk, so I used thin printer paper. Card stock wouldn't be pliable enough and it also would have added too much bulk.

Here's a picture of me holding down the black paper that came with the
mug because it was already bent into the shape of the mug from being
inside it for so long. I held it down with one hand and with the other I
used my trusty Hello Kitty pencil and traced its outline on the thin
white printer paper. Once traced, I cut it out.

You're going to want to make sure your new paper fits after you've cut it, adjust as needed.

Then I lined the paper, starting in the center, with washi tape in a diagonal.

I stamped out Inspired Stamps' Christmas Poinsettia
stamp and began coloring it with two different Copic colors. I use
this line coloring (I have no idea if that's the official name)
technique when coloring: it gives some dimension and depth.

Then I blend another lighter color (I used peach) to blend them all
together. Later I go back and add some more dimension with a darker
color, then blend again with the lightest color.

Here's the Poinsettia inside the mug acting as the seem holder.
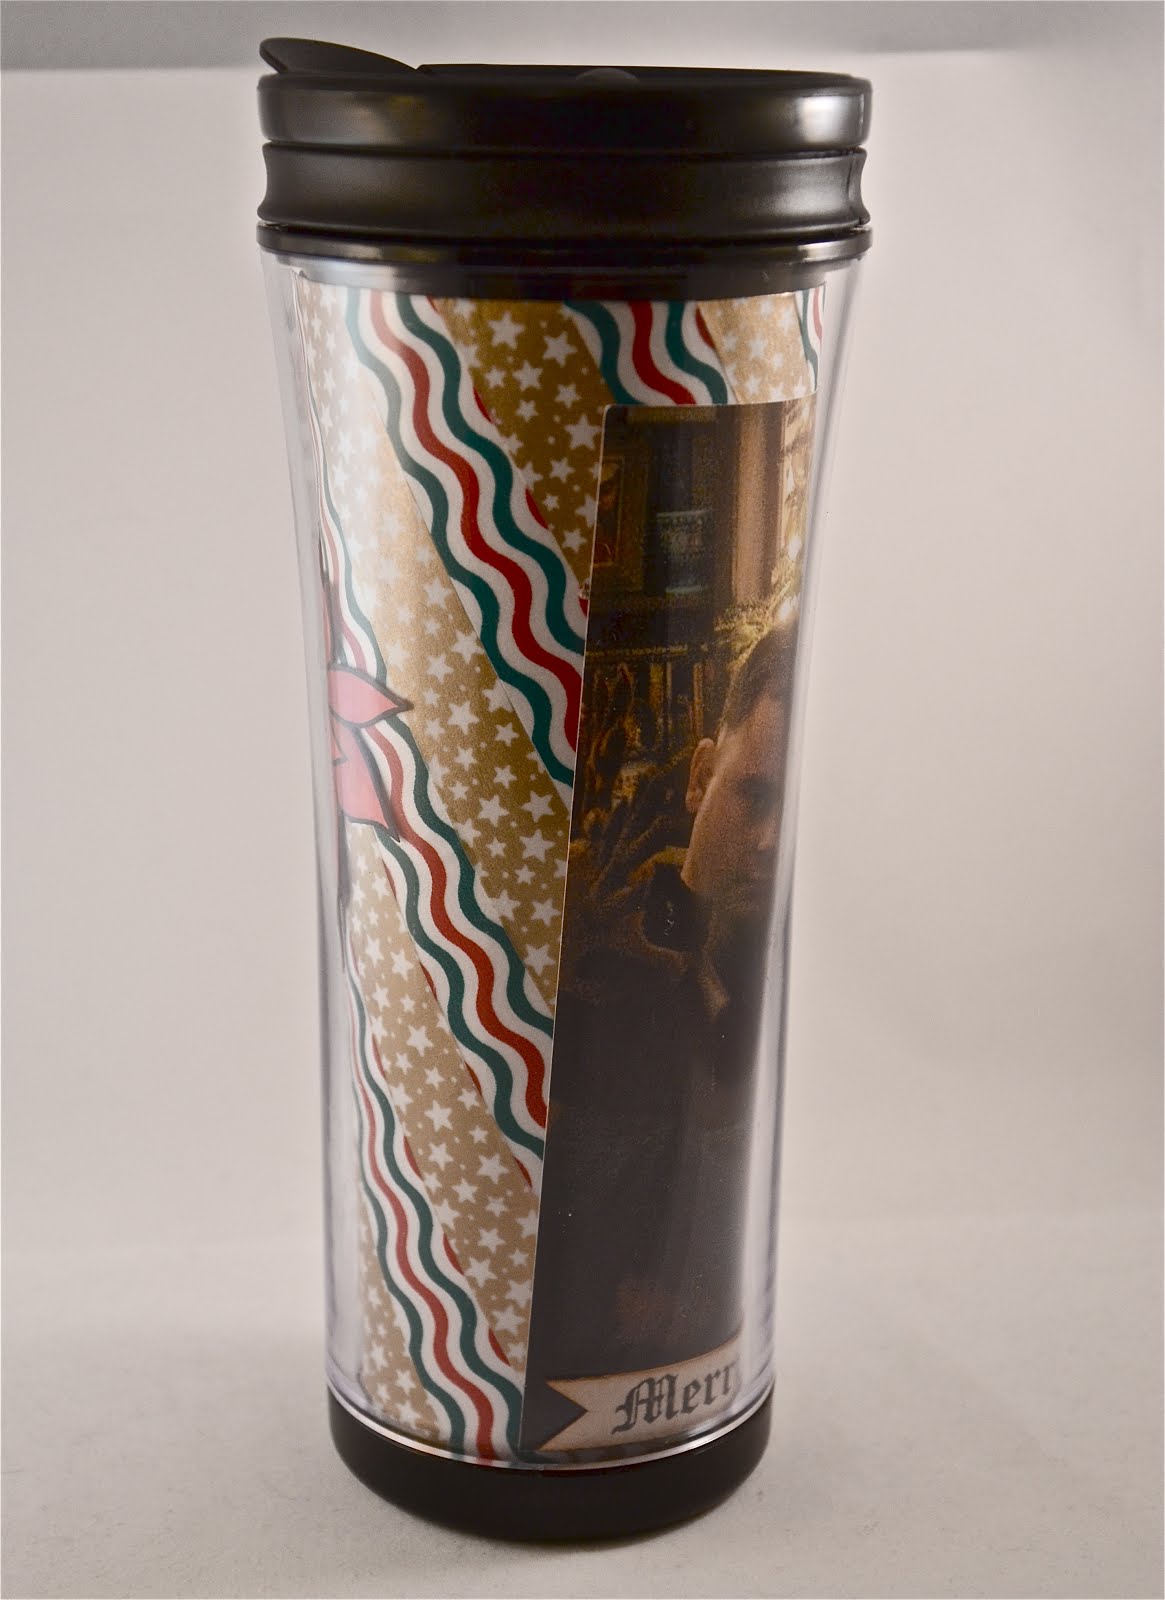
The left side of the photo (my adorable husband and kitty), the Merry
part of the sentiment at the bottom of the photo, and the Poinsettia.

The right side of the photo (me and our shiba inu), the Christmas part
of the sentiment, and the other side of the Poinsettia.
I hope you liked my tutorial. If you have any questions, please feel
free to ask. Please come check out next week's tutorial on Friday on
the Inspired Stamps Blog.
Also, there are a lot of giveaways this week and the next with the
sneak peek of the new releases happening, be sure to check it out! AND
there's a 40% off your most expensive item in your order, with no
minimum purchase required.

Thanks so much for visiting and be sure to check out and leave comments on all the SNEAK PEEK posts this week: We'll have 2 winners drawn from them on MONDAY!!!
Monday we have MORE SNEAK PEEKS and GIVEAWAYS starting!!
Until then,
Blessings,
Antoinette
Very pretty way to customize a mug.
ReplyDeleteI've never thought of doing that before. What a great gift for a coffee drinker. Like ME
ReplyDeleteWhat a fabulous idea!! Love the colours and the poinsettia :)
ReplyDeleteWow!!! That is an AMAZING project and gift idea! I've been inspired!! Thanks, Gaby!
ReplyDeleteThanks for these affordable and personal gift ideas!
ReplyDelete