It's Big Giveaway weekend! All you have to do to be entered is leave us a comment to this post and/or our facebook post about this that will be going up Friday morning! THEN come back on Tuesday to see if you won!! There is a LOT that I couldn't fit into this photo that will be coming your way...can't wait to see who wins!!
Today Inspired Stamps is a guest designer for
Lisa over at Honeybearz Designs and her 12 Days of Christmas! If you came from Lisa's blog be sure to leave a comment and say hello!! We love to hear from new friends and, you'll be entered in our Big Giveaway at the same time!
Today I have this card that will truly shine some joy into someone's day....it's a tea light card! Remember, it's a paper card so you CAN NOT USE A REAL TEA LIGHT WITH FIRE lol...you have to get one of these battery operated ones (I am sure; my brother is a fire fighter :o):
Here is the finished card with the tea light sitting OUTSIDE, but when you put it INSIDE, it looks like this:
These cards are great to make for ANY occasion, so let me share how to make them:
You'll need:
1 8"x11" piece of card stock (mine is cranberry from CTMH)
a punch or scissors or a cutting system to cut the windows out of the cardstock
4 pieces of 2x4 vellum
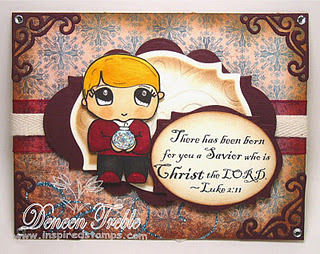
assorted stamps (Inspired Stamps used here are His Little Ones: Christmas Girl and Blessed Little Christmas)
assorted papers/ribbons/flowers to decorate ( I also used a piece of sticky back cork board for the 'merry christmas' stamp)
adhesive (use my Scotch tape runner)
a battery operated tea light
a way to score and cut (I used Martha's Scorboard and Fisker's rotary cutter, as always)
Ok, ready?
Let's get started:
First you need tohave your paper 8" across the top and then score your paper at 2", 4", and 6":
Next you need to turn the paper and cut down the center of your paper from TOP score line to Bottom Score line only...I drew in chalk so you could see it better:
Now you should have this:
Now cut the 4 windows, making sure you leave a little room between each score line so you have a bit of a frame for your windows or you'll have nothing to glue your vellum 'windows' to:
Ok, I photographed the top two windows wrong on this...they need to be facing a different direction...you'll see as we keep moving. But you will now glue your stamped vellum 'windows' in place THEN fold this in half so the cut slit is facing UP:
See how the images are glued in...this photo is correct. You will use your adhesive runner to tape both 2x 5.5 ends down (so the only pieces not glued back to back are your windows and that's where your tea light will set) Now decorate as desired:
And you are finished! Ta da!
Ok, so leave us a comment and let us know what you think of the tea light card! You must come back Tuesday to see if you win. The winner has until Friday next week to email me or...we'll choose another winner!
Don't forget our 50% sale is good only thru Sunday! We are shipping the same day as most orders are placed and YES we ship Saturdays before 2pm!
Until Tuesday,
Be the Blessing and have a WONDERFUL weekend!
~Antoinette