Showing posts with label Winter Sketches. Show all posts

Tuesday, January 14, 2014

Scripture treat bags I'm giving away...maybe to you!


Hello friends!

One thing I've resolved to do more of this year is spend more time creating just for fun!  You'd think illustrating and running your own stamp line would mean 40 hours a week of time to enjoy stamping and coloring, but surprisingly, stamping and coloring are actually in the low end of how I spend my time during the work week.  So today I am sharing the fruits of my new dedicated time with you!

I found these cute wood-grain designed treat bags at our local scrapbook store and just knew I wanted to do something with them!  With Valentine's Day just around the corner, I focused 2 of these treat bags on LOVE and the other one I really wanted to use the cardinal stamp with (it's red...so the right color!).  I use Bazzil Basics Cardstock, Momento Ink, CTMH: opaques, twine, and button, and Copic Markers to color.

Here are the individual bags I made...
I just love our 2 Scripture-Holder Girls (this one is Scripture-Holder Girl with pigtails you can find HERE for $3.99) and I also used a favorite Scripture from the Winter Sketches stamp set shown here:
 Next up I used the cardinal from the Winter Sketches set shown above along with a sneak peek of Psalm 9:10, a brand new 2x2 Single Scripture stamp that will be in the online store in early February!!


My last of the trio I have to show is the brand new $3.99 Single Scripture stamp, 1 Cor. 13:13 which has been very popular this first week it's in our online store!  And my personal favorite alphabet set, Labelmaker Alphabet (on SALE this week only!), I used to make the LOVE label on the treat bag:


 Here are all three treat bags:


And they fit our 2x2 and 2x3 Stamp Sets!!
SOO...I will be putting these (and a few others I am making) as little surprises in some of the orders that are placed today (Tuesday) and tomorrow (Wednesday).  And yes, they will have a FREE 2x2 or 2x3 stamp set inside the little decorated bag as my way of saying THANK YOU for all your support of Inspired Stamps! These really do make a thoughtful way to give a stamp set as a gift to a crafty friend!  You just can't get enough Scripture in your day!!

Have a great day and be sure to head over to the online store: www.inspiredstamps.com
where we have just a few more days to save on a number of stamp sets:


Thanks so much for stopping by today!  I'd love to hear about your crafty resolutions or what you think about these Scripture treat bags if you have time to leave a comment!
Blessings,
Antoinette


Saturday, November 16, 2013

Winter Sketches with Jamie! + Your coupon expires Monday night!

Hello friends,
Only Sunday and Monday to use the above coupon code!  Today, we have a beautiful post from our Design Team artist, Jamie:

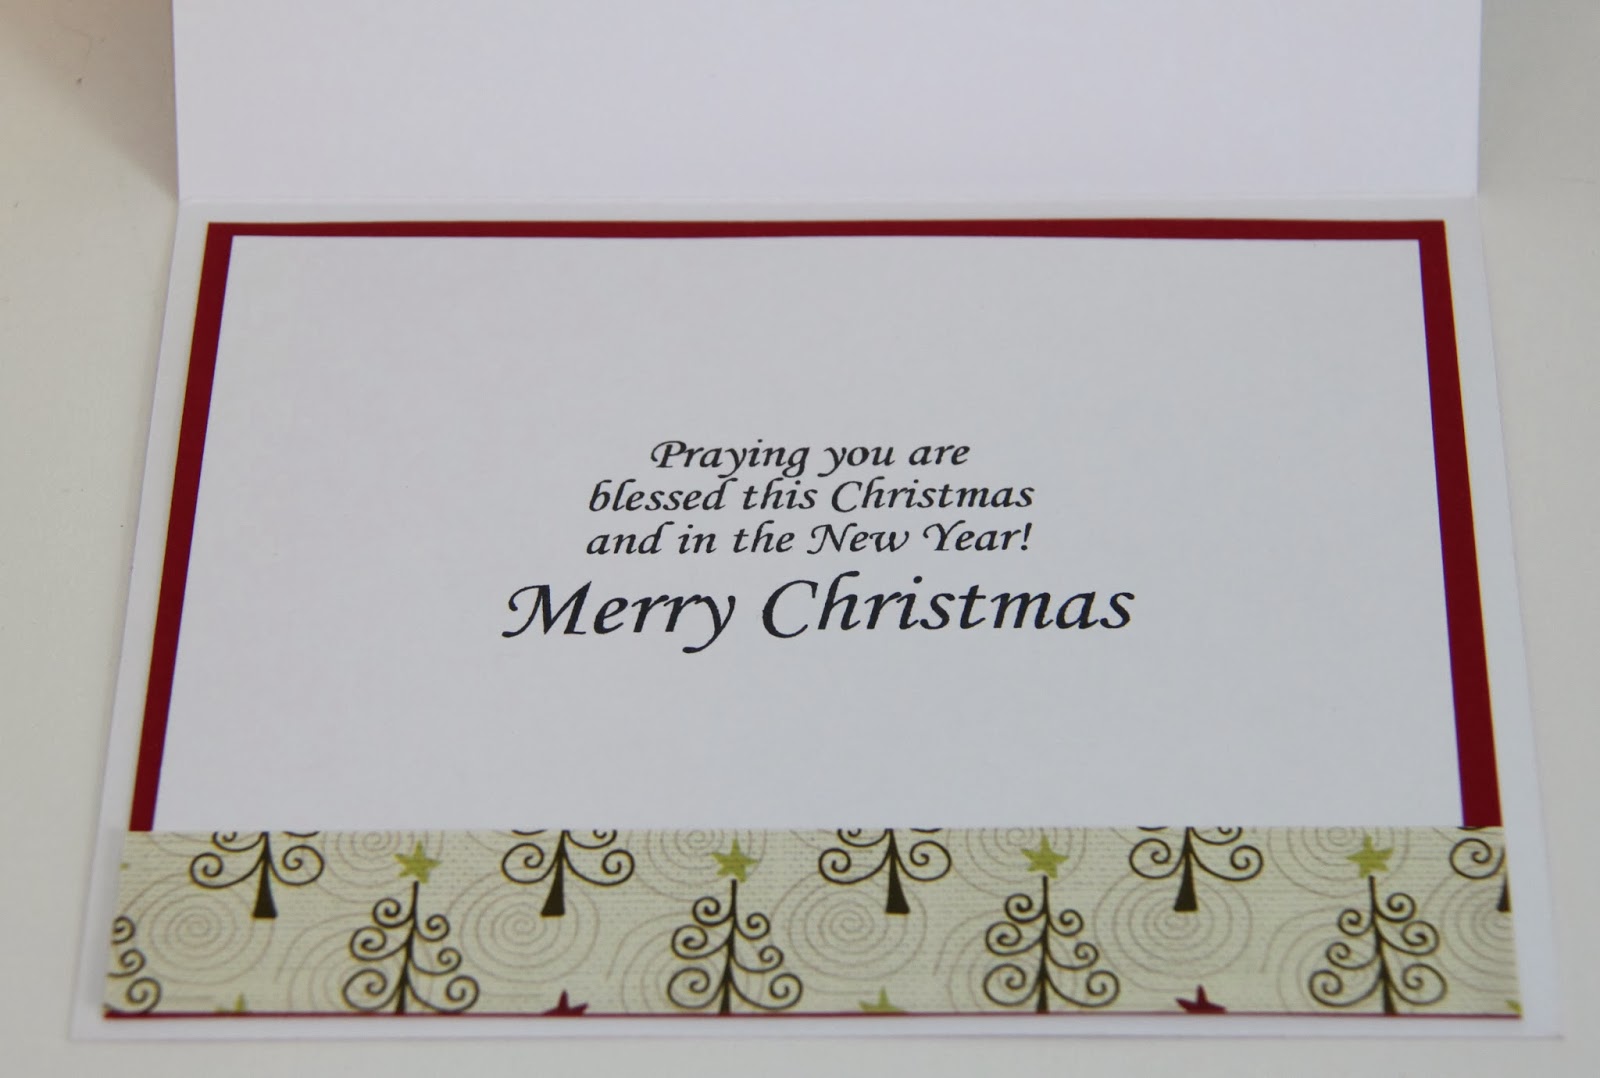
I used Winter Sketches from Inspired Stamps for the front of the card. I combined several stamps from the set. I used scraps of DCWV paper that I have had for a long time. I added a couple glitter tree brads. I used distress ink around the image.
 I used another Inspired Stamps set for the inside. This is two stamps from Perfect Christmas Sentiments
As you can see this Winter Sketches set has a lot of uses!


Blessings,
Jamie
                                              shipping all orders placed Sunday, on Monday!
                                                           all orders placed Monday, Tuesday!

Friday, November 8, 2013

TUTORIAL #2: Faux Letterpress with Chere (Inspired Stamps Birthday Month Celebration!)


 Hello friends!  Welcome to another awesome tutorial by DT artist: Chere using the BRAND NEW WINTER SKETCHES stamp that was one of 15 new sets released yesterday:


Happy 3rd Birthday Inspired Stamps-faux letterpress tutorial

Hello everyone.  Did you see the Inspired Stamps new releases yesterday?  How about Deneen's tutorial on embossing with Spellbinder dies on Wednesday?  Well, I have seen that technique on many cards and loved the look but was not sure how to achieve it, until now.  Deneen had showed how to emboss with a Cuttlebug and I have a Big Shot so I tried the the technique with my machine.
 Open the multipurpose platform to Tab 1 and add cutting plate, cardstock, die, embossing matte, embossing plate. Proper Sizzix Sandwich: Later I tried again and altered the sandwich from what you see in the picture:  Tab 1, cutting plate, die, cardstock, embossing matte, embossing plate.  This will work much better.  Voila.  I will be trying this out in the future.  Thanks Deneen for the tutorial.
 I decided to stay with the embossing, but show how to do a faux letterpress.  I love to use my embossing folders to create background designs, but we can take this a step farther by inking the embossing folder on the flat side with a water based ink (tumbled glass Distress ink used here).

 Ink the flat side of folder (without raised image) by swiping with the ink pad to cover completely.
 Add cardstock and close folder and run through machine. Sandwich: Tab 1, cutting plate, embossing folder containing cardstock, second cutting plate.
 Here is the finished design.  The flat parts of paper are now colored in tumbled glass and the snowflakes are embossed and still white (original color of cardstock).
Clean up is quick with a baby wipe or the embossing folder can be washed in the sink with warm soapy water.  The water based inks wash completely off folder, no staining.  I am not sure how pigment inks or chalk inks would work in this technique, if anyone has tried other types of ink please leave a comment and let us know how it worked out.
 I used a music embossing folder and antique linen Distress inks.  This time I wanted to stain the embossed image as well, so I used walnut stain Distress ink and the sponge applicator.  I applied ink by starting off image and moving the applicator in a circular motion.


 I wanted a really distressed image, so I crumpled the paper in a ball and then smoothed out again. My son said, "Mom, why did you turn that paper into a wadded up tissue?"
I admit at this point it does look a little rough, but I love the final results.
 I used the new release Winter Sketches and added a satin ribbon.  I colored the images with Copic markers.  I had colored four of the holly leave images and was playing around with placement when I noticed  a "flower" emerging when I placed them together.  I added red Stickles and had the Cardinal sit in the cluster.


I matted the snowflake background on a white piece then a black piece.  I tied a ribbon around and then finally adhered it to the card base.  I used the sentiment and the images from Winter Sketches.  I hope you try this technique to make some interesting backgrounds for your cards.  Remember that the new releases are available later this afternoon in the Inspired Stamps online store and there is a nice coupon to celebrate Inspired Stamps 3rd Birthday.  Please be sure to check out the Inspired Stamps blog for more tutorials.  Have a great day.

Blessings,
Chere