FREE SHIPPING CODE: inspiredstampsFS for US orders!! etsy.com/shop/GodblessyourART
Today Belinda is sharing a tutorial on a waterfall card using Inspired Stamps
sweet Nativity set. Because the cutting and folding takes a little time,
I kept the stamping very simple. I used to think this had to be really
difficult card to do found it's actually quite simple.
My card is 5x7 so start with a base of 10x7 folded in half. You will
also need 4 squares for your mats cut at 3x3 and 4 plain squares of 2
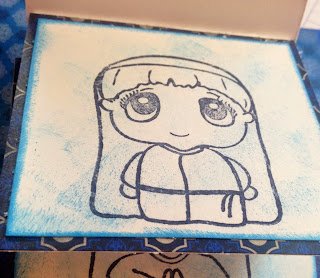
3/4"x2 3/4". I then used a light touch with a sponge to add color to the
white squares and then inked the edges darker. After they were all
inked, I used a dark blue to stamp the images.
Adhere each of the stamped images onto a mat.
Next cut a plain cardstock strip to 2 3/4" x 12". Then score the strip
at 3", 3 3/4", 4 1/2" and 5 1/4". Fold on the score lines-as shown (all
mountain folds).
Choose your bottom image and adhere it to the 2 3/4' square left from the 1st fold.
Pay close attention for the next image to only put adhesive on the
strip, then carefully line up next image square over adhesive and right
next to fold-not over or under it. Continue with last 2 squares.
I adhered coordinating cardstock to the bottom inside flap of my strip.
Now cut a coordinating strip of cardstock 1"x5" and another 2"x5".
Center and adhere 1" piece to the edge of back of bottom square.
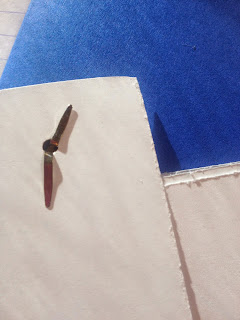
Attach ends of 1" piece over 2" piece with brads-NO adhesive


No comments:
Post a Comment
Kind words welcomed here!