Hello friends!
Today a few of the DT have some beautiful character stamps in a scene cards to share. Deneen will be showing you how to make her TENT CARD in Friday afternoon's 12 WEEKS OF CHRISTMAS TUTORIAL post. Here's a few angles of her card, but you are really going to want to see all that she has put together tomorrow:
Chere also created a lovely card for you:
Shanta is the final DT member who has a card to share today and it's lovely too!!
You can find all these stamps at our new store: www.etsy.com/shop/GodblessyourART and get FREE SHIPPING on orders over $25 in the US!! Use coupon code: inspiredstampsFS
Thanks so much for your support of Inspired Stamps!
Blessings,
Antoinette
Showing posts with label HLO: winter boy. Show all posts
Thursday, November 20, 2014
character Inspired Stamps in a scene cards
Friday, September 12, 2014
Day 12: Christmas Cards with Deneen
Hello friends!
Our Christmas Stamp sale is going on a little while longer at the online store: www.inspiredstamps.com
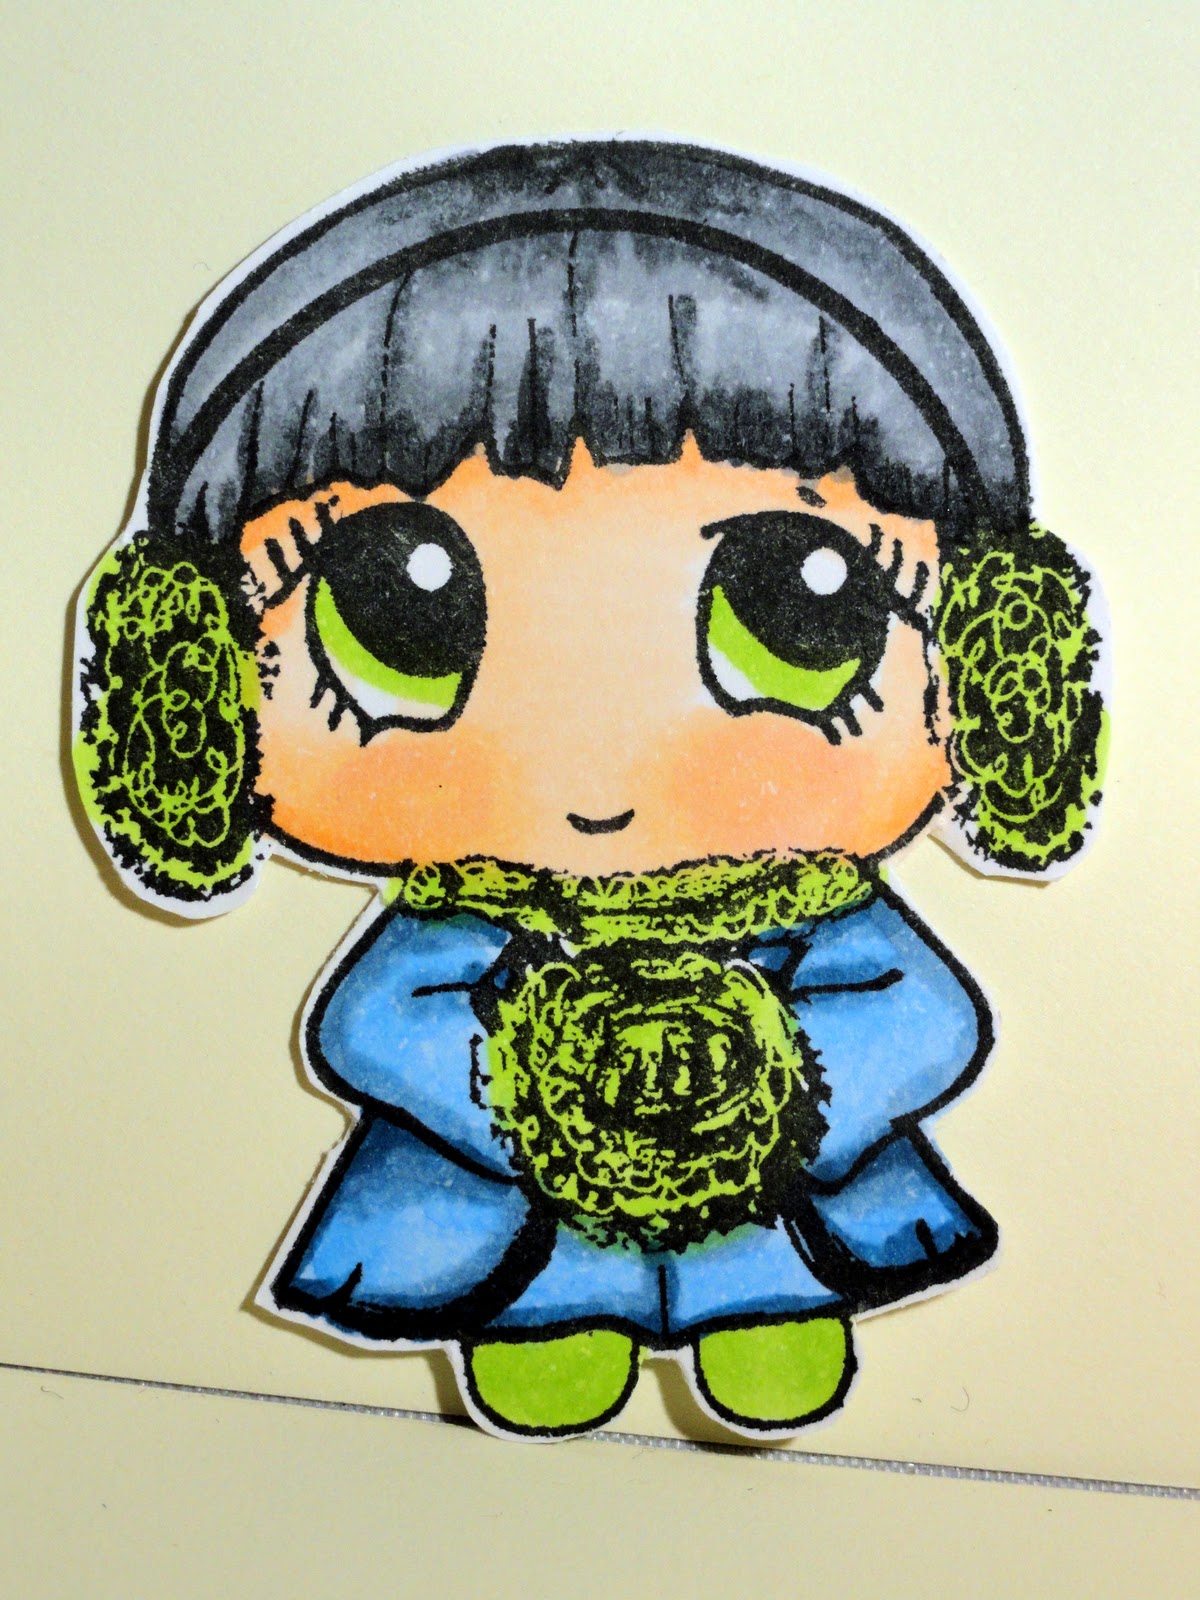
Today I am sharing Deneen's card for this week's DT Christmas Card showcase! I love the way she used HLO: WINTER BOY in this sweet card:
Such a lovely scene!!
Tomorrow be sure to come back and see Kary's fabulous use of ELEGANT DOTTY ALPHABET in her card for this week!
Blessings,
Antoinette and Deneen
Our Christmas Stamp sale is going on a little while longer at the online store: www.inspiredstamps.com
Today I am sharing Deneen's card for this week's DT Christmas Card showcase! I love the way she used HLO: WINTER BOY in this sweet card:
Such a lovely scene!!
Tomorrow be sure to come back and see Kary's fabulous use of ELEGANT DOTTY ALPHABET in her card for this week!
Blessings,
Antoinette and Deneen
Sunday, October 13, 2013
12 Weeks of Christmas Tutorials with His Little Ones Characters: week 2: Clearly the best dish
Hello friends!
Today we are going to share with you one of my personal favorite Christmas tutorials because you can do this all year long and all it will cost you is the initial cost of the CLEAR plates and Sharpie Paint oil-based markers (and maybe not even that if you use TIP #2!).
First we want to thank everyone for commenting on Week 1st post here and on the Facebook page! We are so happy you are joining us each week to see what is next! Our winner of the His Little Ones' stamp set: Thankful Boy plus the Homemade stick sheet is:
Linda who commented on the blog (there was only one Linda this time so that makes it easy!)
Congratulations Linda! Email us a inspiredstamps@gmail.com by Sunday, October 20 with your mailing address and we will get your prizes right out to you!
On to today's Post!
Here is ONE of the finished projects:
And here is what you need:
Your favorite Inspired Stamp (or other stamp...I prefer clear stamps for this and use a piece of acetate to stamp them instead of a block since you can get better coverage)
StazOn ink (I used black)
Sharpie Paint Pens (I use oil based)
a CLEAR plate (the plate above is sitting on a white doily, but it's clear (you'll see why in a minute)
alcohol wipe or hand sanitizer/paper towel
I love to change plates to match the season, event, or decor. But most of the 'color your own dish' tutorials out there want to make the design permanent and use a white plate. I use a clear plate because you never need to make the paint permanent or worry about the safety of food touching it, because your design goes on the OUTSIDE of the plate:
1. Start by cleaning the BACK of your plate with your alcohol wipe or, as I like, hand sanitizer and a paper towel. This gets all fingerprints off:
2. Next, using StazON ink and mounting your clear Inspired Stamp onto a piece of flexible acetate---like what they come on in our packages--stamp your design carefully, but firmly. If you don't get a clean image, you just use the hand sanitizer/towel to clean off the stamp and start again:
3. Once it is on, you can start to color with the markers:
4. I put mine on the white doily because it shows the design better than just putting it on the table. And I love the doily look behind a clear plate anyway--I took photos both ways so you can see the difference:o):
HERE'S ANOTHER WAY TO DO A PLATE:
If you don't want to take the time to make it like I did above OR if you want a Bible Verse (I love to use God's Word in a variety of ways), you can do the following method (this one is more temporary and while washing the plate above isn't a big deal, you'd want to take off the 'paper' before washing this one:
1. Start with Re-positionable craft adhesive and spray the TOPS of your already stamped and colored images(I used His Little Ones: Winter Boy and a verse stamp):
2. Put them ON THE BACK of the plate---they stick there very well but you are able to take them off later.
Here's what this looks like:
Honestly, if you wanted to, you could just adhere them to the white doily using adhesive on the back of them instead of the front, keeping you from having to take them off the plate to wash the plate.
But these are so much fun, I do hope you will give them a try!!
Be sure to leave us a comment here letting us know what you think, and we will choose one comment from here or FACEBOOK to win the HLO: Winter Boy stamp shown in this artwork!
Thanks for stopping by!
Blessings,
Antoinette
Today we are going to share with you one of my personal favorite Christmas tutorials because you can do this all year long and all it will cost you is the initial cost of the CLEAR plates and Sharpie Paint oil-based markers (and maybe not even that if you use TIP #2!).
First we want to thank everyone for commenting on Week 1st post here and on the Facebook page! We are so happy you are joining us each week to see what is next! Our winner of the His Little Ones' stamp set: Thankful Boy plus the Homemade stick sheet is:
Linda who commented on the blog (there was only one Linda this time so that makes it easy!)
Congratulations Linda! Email us a inspiredstamps@gmail.com by Sunday, October 20 with your mailing address and we will get your prizes right out to you!
On to today's Post!
Here is ONE of the finished projects:
And here is what you need:
Your favorite Inspired Stamp (or other stamp...I prefer clear stamps for this and use a piece of acetate to stamp them instead of a block since you can get better coverage)
StazOn ink (I used black)
Sharpie Paint Pens (I use oil based)
a CLEAR plate (the plate above is sitting on a white doily, but it's clear (you'll see why in a minute)
alcohol wipe or hand sanitizer/paper towel
I love to change plates to match the season, event, or decor. But most of the 'color your own dish' tutorials out there want to make the design permanent and use a white plate. I use a clear plate because you never need to make the paint permanent or worry about the safety of food touching it, because your design goes on the OUTSIDE of the plate:
1. Start by cleaning the BACK of your plate with your alcohol wipe or, as I like, hand sanitizer and a paper towel. This gets all fingerprints off:
2. Next, using StazON ink and mounting your clear Inspired Stamp onto a piece of flexible acetate---like what they come on in our packages--stamp your design carefully, but firmly. If you don't get a clean image, you just use the hand sanitizer/towel to clean off the stamp and start again:
3. Once it is on, you can start to color with the markers:
4. I put mine on the white doily because it shows the design better than just putting it on the table. And I love the doily look behind a clear plate anyway--I took photos both ways so you can see the difference:o):
HERE'S ANOTHER WAY TO DO A PLATE:
If you don't want to take the time to make it like I did above OR if you want a Bible Verse (I love to use God's Word in a variety of ways), you can do the following method (this one is more temporary and while washing the plate above isn't a big deal, you'd want to take off the 'paper' before washing this one:
1. Start with Re-positionable craft adhesive and spray the TOPS of your already stamped and colored images(I used His Little Ones: Winter Boy and a verse stamp):
2. Put them ON THE BACK of the plate---they stick there very well but you are able to take them off later.
Here's what this looks like:
But these are so much fun, I do hope you will give them a try!!
Be sure to leave us a comment here letting us know what you think, and we will choose one comment from here or FACEBOOK to win the HLO: Winter Boy stamp shown in this artwork!
Thanks for stopping by!
Blessings,
Antoinette
online store: www.inspiredstamps.com
Tuesday, January 1, 2013
Happy New Year!: JOIN US for 52 Weeks of Intentional Gratitude
All the information is up on the blog found by clicking on this link:
http://www.inspiredstamps.blogspot.com/2012/12/join-us-for-52-weeks-of-gratitude.html
Come back and see the blog this week Thursday for our Art Journaling post!
Be sure to let us know if you are joining us! We are so happy to hear from you!!
Blessings,
Antoinette
Tuesday, August 28, 2012
CHRISTMAS STAMPS: Design Team Tuesday with Inspired Stamps!
Hello Friends!
Today is a showcase of some beautiful Christmas Cards from the Inspired Stamps Tuesday Design Team! Above, Leesa, has just created a GORGEOUS card that anyone would be blessed to receive this Christmas time!! Let's take a look at what the rest of our Tuesday team has created to inspire you in your Christmas card-making:
Patty used the Whimsical Tree set:
Belinda:
Gaby:
Jenn:
Today is a showcase of some beautiful Christmas Cards from the Inspired Stamps Tuesday Design Team! Above, Leesa, has just created a GORGEOUS card that anyone would be blessed to receive this Christmas time!! Let's take a look at what the rest of our Tuesday team has created to inspire you in your Christmas card-making:
Patty used the Whimsical Tree set:
Belinda:
Gaby:
Jenn:
Aren't they wonderful? We'll have MORE Christmas inspiration for you on Thursday's Christmas Card posting by the Design Team!
Thanks so much for stopping by today! Be sure to stop by the online store: www.inspiredstamps.com
We are shipping most orders the same day they are placed!
Until next time,
Blessings,
Antoinette
Thursday, December 15, 2011
Christmas Cards: Design Team Thursday + last day to register on the store!
Hello friends!
Today we are back with another Design Team Thursday: Christmas Cards!! Don't forget to register at the online store...I'm choosing 40+ names at random after tonight to receive a special stamp that has not been released yet....you can't win if you aren't registered (www.inspiredstamps.com just click the register button at the top of the page!)
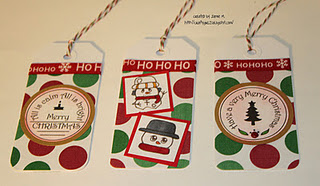
Today Kary started us off with a close up of her card with His Little Ones: Winter Boy! Beautiful coloring as always, Kary! Here is the full card and a beautiful tag she made too:
Amber made this gorgeous card....just love her style, don't you? I am a huge fan of blue and those 1 inch snowmen!!
Belinda had a beautiful idea...don't you just love the Choir/Angel set in her card? I love how she incorporated the music stamp from Sing For Joy on the top!
Look at Chere's fabulous creation using HLO: Christmas Boy....I love that tree!!
The so-talented Deneen used the 1 inch snowmen set as well....who wouldn't love to receive this?
Jamie has been hard at work (she has even more on her blog!) for us this week with these beautiful creations!!
I am so inspired by this fabulous design team!! Thanks so much ladies for your dedication and talent you share each week with us!!
Tomorrow is a BIG day here at Inspired Stamps the blog!!! I am guest designing for a super talented blogger and will have a great tutorial to share with you....plus, the BIG GIVEAWAY is tomorrow during that post and you'll have thru Monday night midnight to comment! All the giveaways thus far that have gone unclaimed PLUS other goodies are included...you will want to make sure you come back for all the fun!!
Have a blessed weekend!
Be the blessing!
~Antoinette
www.inspiredstamps.com (still shipping the same day as most orders are placed to get your stamps to you as fast as possible!)
Today we are back with another Design Team Thursday: Christmas Cards!! Don't forget to register at the online store...I'm choosing 40+ names at random after tonight to receive a special stamp that has not been released yet....you can't win if you aren't registered (www.inspiredstamps.com just click the register button at the top of the page!)
Today Kary started us off with a close up of her card with His Little Ones: Winter Boy! Beautiful coloring as always, Kary! Here is the full card and a beautiful tag she made too:
Amber made this gorgeous card....just love her style, don't you? I am a huge fan of blue and those 1 inch snowmen!!
Belinda had a beautiful idea...don't you just love the Choir/Angel set in her card? I love how she incorporated the music stamp from Sing For Joy on the top!
Look at Chere's fabulous creation using HLO: Christmas Boy....I love that tree!!
The so-talented Deneen used the 1 inch snowmen set as well....who wouldn't love to receive this?
Jamie has been hard at work (she has even more on her blog!) for us this week with these beautiful creations!!
I am so inspired by this fabulous design team!! Thanks so much ladies for your dedication and talent you share each week with us!!
Tomorrow is a BIG day here at Inspired Stamps the blog!!! I am guest designing for a super talented blogger and will have a great tutorial to share with you....plus, the BIG GIVEAWAY is tomorrow during that post and you'll have thru Monday night midnight to comment! All the giveaways thus far that have gone unclaimed PLUS other goodies are included...you will want to make sure you come back for all the fun!!
Have a blessed weekend!
Be the blessing!
~Antoinette
www.inspiredstamps.com (still shipping the same day as most orders are placed to get your stamps to you as fast as possible!)
Friday, December 2, 2011
Week #9 of our 12 Weeks of Inspired Christmas Creations Tutorial + giveaway!
Hello friends!
What a day! We just released the new December stamps into the Inspired Stamps Online store and they are flying off the 'shelf'!! All orders placed by 5pm are on their way to you!
Today I have one of the MOST fun gifts you will ever make! It is a mixed media photo frame and starts off like this:
I got a bunch of these at Hobby Lobby and I love the solid particle board frame! I painted it white with the acrylic paint show. I also used copic markers, distress inks and distress ink pads, plus assorted embellishments and these items:
Did I mention this is SUPER fun to make?!?
Ok first thing is to tear masking tape and put it around your frame. You can use clear tape too. I put the blue painters tape on the glass where the photo will go to protect it from all the stuff:
Then I glue down the pieces of fibers, cheesecloth, sequins, and other goodies to get this:
Ok at this point it looks like something a kindergarten child would toss in the trash and move on to something else, but hang in there! It's like the ugly duckling that hasn't grown into a swan yet. Put another thick layer of the glue and seal over it (you can use mod podge, but I prefer the glue and seal product by Tim Holz).
NOW let it dry (you need a few hours but overnight is best).
Next comes the ink:
make sure you are pouncing the ink and turning your ink applicator in different directions. Once its done it will look somewhat like this:
Honestly, this is the big WOW THATS COOL moment when you are creating, but seeing it in a photo may not be as powerful LOL.
This dries so fast and you are ready to take off the tape, add some embellishments and you are almost done:
and here's the final frame with some close ups:
Can you see how amazing the texture of the cheese cloth looks? I just LOVE this! Here's another color combo for you so you can see how dramatically different your ink choices make the finished product:
Do you notice there is more white in this one? I used craft glue and it resisted the ink more than the glue and seal did. But still a neat look.
Ok, so tell me what you think about this project? Anyone gonna give it a try? Leave your comment here and I will choose someone who will win one of the new particle board frames just like the one I used for these projects PLUS the 2 new His Little Ones: Winter Boy and Winter Girl stamp sets. You have until midnight Sunday!! Let your friends know...if they come comment and mention your name, then I choose them as a winner...you'll win the same prize they do, too, as a THANK YOU for sharing about us!!
Have a blessed weekend and I'll see you Monday!!
Be the Blessing,
~Antoinette
www.inspiredstamps.com (We ship every day but Sunday! We ship most orders the same day they are placed!)
What a day! We just released the new December stamps into the Inspired Stamps Online store and they are flying off the 'shelf'!! All orders placed by 5pm are on their way to you!
Today I have one of the MOST fun gifts you will ever make! It is a mixed media photo frame and starts off like this:
I got a bunch of these at Hobby Lobby and I love the solid particle board frame! I painted it white with the acrylic paint show. I also used copic markers, distress inks and distress ink pads, plus assorted embellishments and these items:
Did I mention this is SUPER fun to make?!?
Ok first thing is to tear masking tape and put it around your frame. You can use clear tape too. I put the blue painters tape on the glass where the photo will go to protect it from all the stuff:
Then I glue down the pieces of fibers, cheesecloth, sequins, and other goodies to get this:
Ok at this point it looks like something a kindergarten child would toss in the trash and move on to something else, but hang in there! It's like the ugly duckling that hasn't grown into a swan yet. Put another thick layer of the glue and seal over it (you can use mod podge, but I prefer the glue and seal product by Tim Holz).
NOW let it dry (you need a few hours but overnight is best).
Next comes the ink:
make sure you are pouncing the ink and turning your ink applicator in different directions. Once its done it will look somewhat like this:
Honestly, this is the big WOW THATS COOL moment when you are creating, but seeing it in a photo may not be as powerful LOL.
This dries so fast and you are ready to take off the tape, add some embellishments and you are almost done:
and here's the final frame with some close ups:
Can you see how amazing the texture of the cheese cloth looks? I just LOVE this! Here's another color combo for you so you can see how dramatically different your ink choices make the finished product:
Ok, so tell me what you think about this project? Anyone gonna give it a try? Leave your comment here and I will choose someone who will win one of the new particle board frames just like the one I used for these projects PLUS the 2 new His Little Ones: Winter Boy and Winter Girl stamp sets. You have until midnight Sunday!! Let your friends know...if they come comment and mention your name, then I choose them as a winner...you'll win the same prize they do, too, as a THANK YOU for sharing about us!!
Have a blessed weekend and I'll see you Monday!!
Be the Blessing,
~Antoinette
www.inspiredstamps.com (We ship every day but Sunday! We ship most orders the same day they are placed!)
Subscribe to:
Posts (Atom)