Tuesday, November 19, 2013

Christmas Poinsettia Stamp Set Showcase!

Hello friends!
Today I wanted to share with you several artwork samples using our Christmas Poinsettia Stamp set that Kary has shared with us! 


(Inspired Stamps used:  Christmas Poinsettia  you can find HERE (she made her own 'paper' using this set too...see the poinsettias?), and 1.5 inch Christmas Circles you can find HERE.


I used this set to make my Christmas dishes this year!:
We will be showcasing our Christmas sets all week, so be sure to stop by daily and see different ways to use each set!
Blessings,
Antoinette

Saturday, November 16, 2013

Winter Sketches with Jamie! + Your coupon expires Monday night!

Hello friends,
Only Sunday and Monday to use the above coupon code!  Today, we have a beautiful post from our Design Team artist, Jamie:

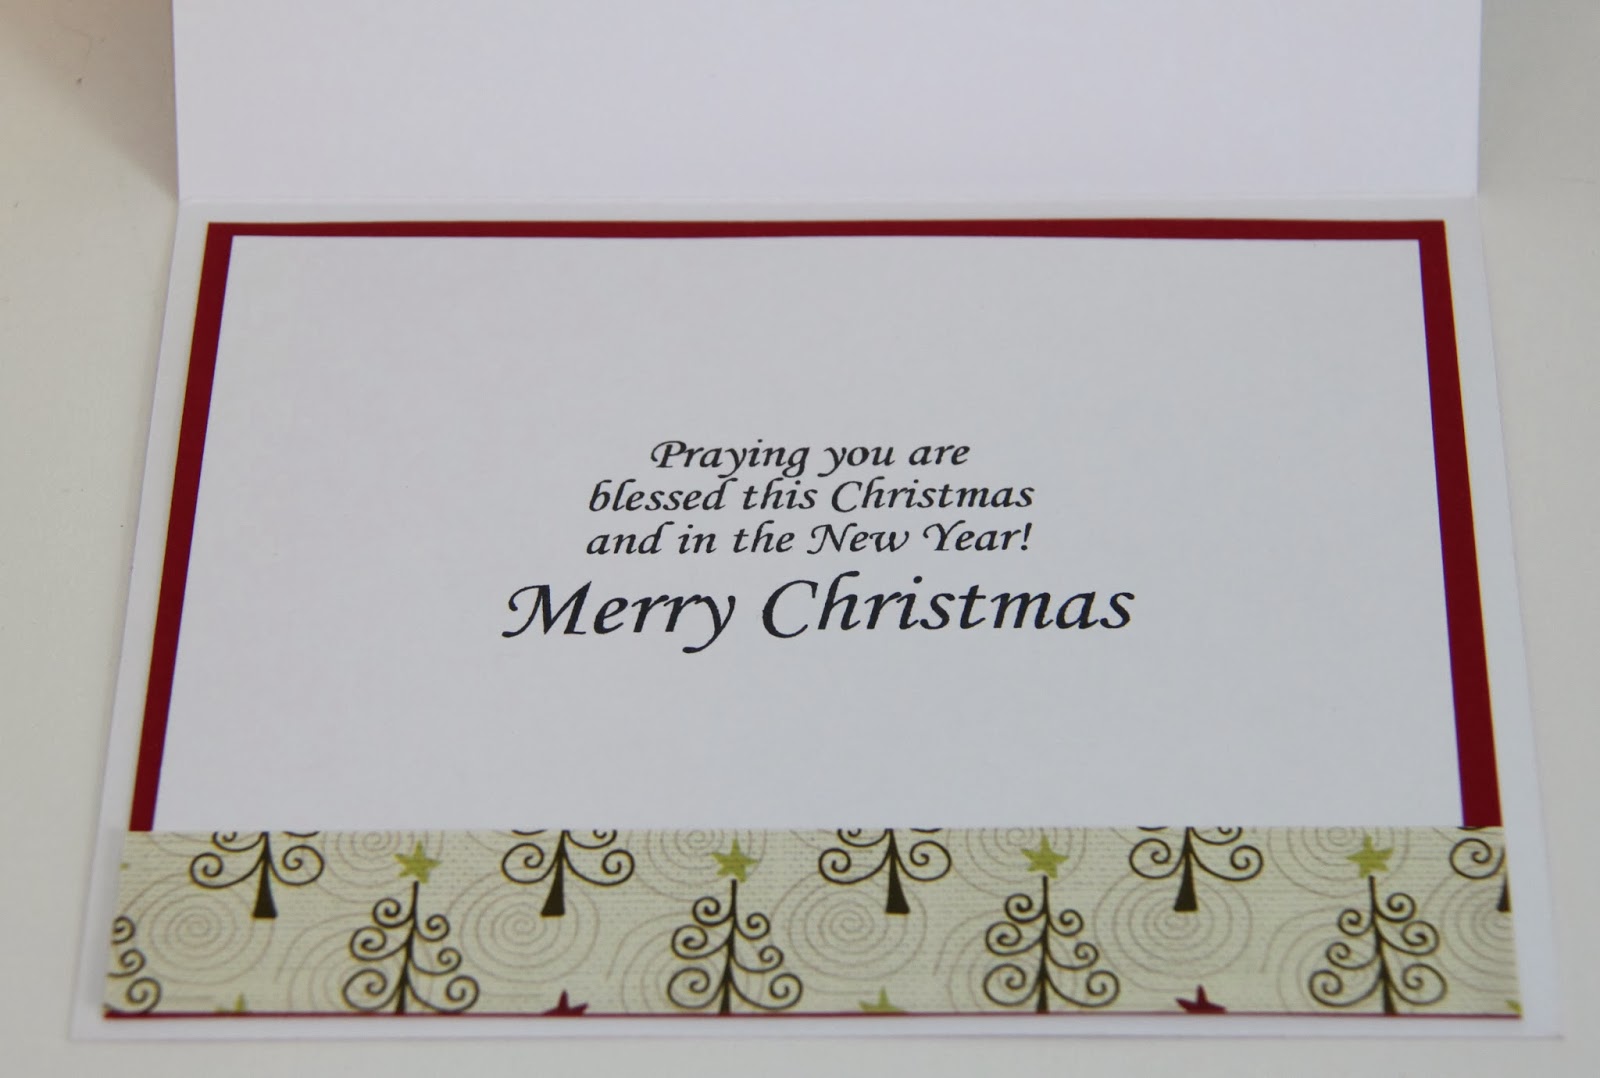
I used Winter Sketches from Inspired Stamps for the front of the card. I combined several stamps from the set. I used scraps of DCWV paper that I have had for a long time. I added a couple glitter tree brads. I used distress ink around the image.
 I used another Inspired Stamps set for the inside. This is two stamps from Perfect Christmas Sentiments
As you can see this Winter Sketches set has a lot of uses!


Blessings,
Jamie
                                              shipping all orders placed Sunday, on Monday!
                                                           all orders placed Monday, Tuesday!

Friday, November 15, 2013

Tutorial: Using Inspired Stamps with Stamping Gear!

Hello friends!
Belinda has a tutorial for us today sharing a really need gadget!  Don't forget, only a few more days til this coupon offer is over:

If you are like me, you always want to try out the latest gadgets in stamping.  I had a coupon
(of course) and purchased a Stamping Gear set.  However, I did not love the stamps that came with it after trying it out.  Lucky for me, I discovered I could use my Inspired Stamps with it instead!


For this example, I used the poinsettia stamp from the beautiful Christmas Poinsettia stamp set. For this card, it didn't matter that the stamp did not fit on the paddle perfectly.

 I started in a center slot and repeated on all sides. Then I stamped in the 4 corner slots.

This is the result and it could be used to frame a photo on a scrapbook page. 

But I used it as a mat on my card front and in order to do that, I cut it down to fit my card.

A few drops of gold Stickles and a wonderful scripture from the Vintage Christmas Stamp Seand I've completed another Christmas card for a loved one.
 
Blessings,
Belinda

Thursday, November 14, 2013

12 Weeks of Christmas Tutorials with His Little Ones characters: Week 6 + DT Thursday with Chere and Deneen!!


Hello friends!   Today is normally a Design Team Thursday, but there is no way I could leave you with just a photo of what Chere and Deneen created for today, so I am including their posts as part of our 12 Weeks of Christmas Tutorials so you can find these easily by clicking on the link in the side bar!  If you are interested in learning more on how Deneen made her tea light lantern, leave us a comment below!  Be sure to take advantage of our sale to get all these great stamps:


 DENEEN'S TEA LIGHT LANTERN using many of our new release stamps!
Today I'm sharing a tea light lantern with you, I had a lot of fun designing it, okay, I had a few frustrating moments designing it, but, I had a lot of fun decorating it!  (I may do a tutorial on it at some point, just so that you don't make the mistakes I made along the way, lol!!)


Lantern Size:  4" x 6.75"
I used HLO:  Shepherd Boy, Sheep Standing, and HLO: Angel.  The verses are on vellum and I used Luke 2:11, and Luke 2:13-14
On the other 2 sides I used Laying Sheep, and Nativity Set, the verse  I used here is included with the Nativity Set! 
Copics Used:
Sheep - W0, W1, W3
Copics Used:
Skin - E000, E00, YR01
Hair - Y02, Y11, Y13, Y21
Robe/Wings - W0, W1, W3
Copics Used:
Skin - E000, E00, YR01
Hair - E13, E15, E17, E18
Headdress - E41, E42, E43
 Robe - G20, G21
Staff - E15, E18
Eyes - E17
The star is a bit of an oopsie, I didn't realize how much the Stickles would wrinkle the vellum, next time I'll either use something else or let it dry before putting it on.  First I traced a star shape with a black felt tip marker, and then I coloured the back of the vellum with Copic Y08.

 Copics Used:
Mary - Skin-E000, E00, YR01; Hair-E13, E15, E17, E18; Clothes-B91, B93, B95; Eyes-B91.
Joseph - Skin-E000, E00, YR01; Hair-E13, E15, E17, E18; Clothes-E41, E42, E43; Eyes-E17.
Manager - Wood-E13, E15, E17, E18; Straw-Y11, Y13, Y21; Swaddling-E41, E42, E43, Skin-E000, E00, YR01.
 

Enjoying the candle in the dark.

Recipe:  Inspired Stamps SS-HLO: Angel, HLO:  Shepherd Boy, Standing Sheep, Laying Sheep, Luke 2:11, Luke 2:13-14 & Nativity Set, CTMH PP-Mistletoe, CTMH White Daisy CS, Bazzill Prismatics brown CS, Bazzill Mono green CS, Spellbinders-Labels 4 & Labels 18, Cheery Lynn Designs-Victorian Romance Flourish, Black Fine Felt Tip Pen, Lemon I ce Stickles, Copic Markers.

 Blessings,
Deneen

CHERE'S GIFT CARD HOLDER TUTORIAL:


 'Tis the Season to be thinking about Christmas cards and gift card holders.  Gift cards are becoming quite popular due to the fact the recipient can pick out their own gift and you do not have the tremendous shipping costs.  I have to admit I like to receive gift cards but I still love receiving something someone has thought about me and picked out.
I found this particular matchbook gift card fold at songofmyheartstamps.typepad.com.  I liked it because you can make four gift card holders from one 12 X 12 piece of cardstock.
How to:
Cut a 3 X 12 inch strip of cardstock and score at 3.75, 8, 8.75 and 9.5 inches.  Punch a shape out of holder side (I used 1.25 inch circle punch).  This will allow you to easily grab the gift card out of holder.  Then add thin strip of sticky strip (it needs to be thin so you have room for your gift card in the "envelope".  Also add thin piece of sticky strip to bottom of the matchbook fold near the lower edge (needs to be at the lower edge so top flap can easily tuck in to close card).
Card is finished, very easy.  As I said you can get 4 of these from one 12 X 12 piece of cardstock.  I made a minor adjustment to some of the others I made. This version has a flat flap, but if you are adding anything with a bit of bulk (say you want to add the gift card to a tag with a ribbon pull) then I added another score line at 4 inches.  I used all the same score lines as above but added an additional score line at 4 inches and this gives the "traditional" matchbook look.  The flatter version would be much easier to mail, since it is flat.  The second version would be better for hand delivery.
I hope you have a blessed day
Chere

A big thank you to both Deneen and Chere for these amazing projects!  Leave them some love in the comment section below!! 
Blessings,
Antoinette

Wednesday, November 13, 2013

12 Weeks of Christmas Week 5 + Birthday Celebration= Jamie's awesome tutorial


 Hello friends!
Today's post is covering 2 of our running tutorials!!  Jamie has made this WONDERFUL tutorial to share with you for both the 12 Weeks of Christmas AND our Birthday tutorial!  ONLY A FEW MORE DAYS TO TAKE ADVANTAGE OF THE 20% off sale at:  www.inspiredstamps.com  Now, here is JAMIE:

Do you find yourself looking for a thoughtful gift that doesn't cost a lot of money? I have a great tutorial for you. These are great for co workers, neighbors, etc. I have given these out several times and they are always a hit.


Here is a step by step tutorial of how I make these.
1. Cut out your paper. Each candy bar has different measurements. Leave an inch above and below and enough on the sides to overlap each other.
Thicker paper workers better but I have used cardstock decorated with think scrapbook paper. Sample below.
 2. Add glue or tape as shown in the picture. I prefer the red tacky tape because you don't have to worry about it drying.


3.  Glue the paper around the candy bar. I pull off the red tape and roll the paper around the candy bar.

4. Crimp the ends with a crimper. I you don't have a crimper just glue the ends together.

5. I added brads to the bottom (if you don't have a crimper than I would definitely add the brads to the bottom to keep it together more securely.)

6. Make two hole through the top and add your ribbon. I added a bell and love it!
7. Of course decorate! I used this super cute HLO. This is His Little Ones: Shepherd Boy. I colored him with Copics.

You can make these for any occasion. Here is another example I made for a birthday example.
I used card stock and thin DP on this one. I used HLO Angel on this one. These HLO from Inspired Stamps fit perfectly on these candy bar wrappers.

You can find these stamps and many others at the Inspired Stamps Store.
Blessings,
Jamie

Friday, November 8, 2013

TUTORIAL #2: Faux Letterpress with Chere (Inspired Stamps Birthday Month Celebration!)


 Hello friends!  Welcome to another awesome tutorial by DT artist: Chere using the BRAND NEW WINTER SKETCHES stamp that was one of 15 new sets released yesterday:


Happy 3rd Birthday Inspired Stamps-faux letterpress tutorial

Hello everyone.  Did you see the Inspired Stamps new releases yesterday?  How about Deneen's tutorial on embossing with Spellbinder dies on Wednesday?  Well, I have seen that technique on many cards and loved the look but was not sure how to achieve it, until now.  Deneen had showed how to emboss with a Cuttlebug and I have a Big Shot so I tried the the technique with my machine.
 Open the multipurpose platform to Tab 1 and add cutting plate, cardstock, die, embossing matte, embossing plate. Proper Sizzix Sandwich: Later I tried again and altered the sandwich from what you see in the picture:  Tab 1, cutting plate, die, cardstock, embossing matte, embossing plate.  This will work much better.  Voila.  I will be trying this out in the future.  Thanks Deneen for the tutorial.
 I decided to stay with the embossing, but show how to do a faux letterpress.  I love to use my embossing folders to create background designs, but we can take this a step farther by inking the embossing folder on the flat side with a water based ink (tumbled glass Distress ink used here).

 Ink the flat side of folder (without raised image) by swiping with the ink pad to cover completely.
 Add cardstock and close folder and run through machine. Sandwich: Tab 1, cutting plate, embossing folder containing cardstock, second cutting plate.
 Here is the finished design.  The flat parts of paper are now colored in tumbled glass and the snowflakes are embossed and still white (original color of cardstock).
Clean up is quick with a baby wipe or the embossing folder can be washed in the sink with warm soapy water.  The water based inks wash completely off folder, no staining.  I am not sure how pigment inks or chalk inks would work in this technique, if anyone has tried other types of ink please leave a comment and let us know how it worked out.
 I used a music embossing folder and antique linen Distress inks.  This time I wanted to stain the embossed image as well, so I used walnut stain Distress ink and the sponge applicator.  I applied ink by starting off image and moving the applicator in a circular motion.


 I wanted a really distressed image, so I crumpled the paper in a ball and then smoothed out again. My son said, "Mom, why did you turn that paper into a wadded up tissue?"
I admit at this point it does look a little rough, but I love the final results.
 I used the new release Winter Sketches and added a satin ribbon.  I colored the images with Copic markers.  I had colored four of the holly leave images and was playing around with placement when I noticed  a "flower" emerging when I placed them together.  I added red Stickles and had the Cardinal sit in the cluster.


I matted the snowflake background on a white piece then a black piece.  I tied a ribbon around and then finally adhered it to the card base.  I used the sentiment and the images from Winter Sketches.  I hope you try this technique to make some interesting backgrounds for your cards.  Remember that the new releases are available later this afternoon in the Inspired Stamps online store and there is a nice coupon to celebrate Inspired Stamps 3rd Birthday.  Please be sure to check out the Inspired Stamps blog for more tutorials.  Have a great day.

Blessings,
Chere